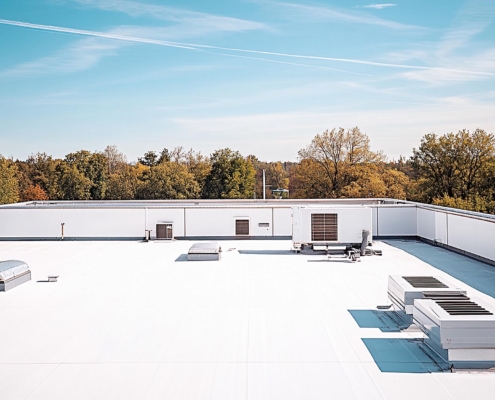
1. Visual Walkthrough
A thorough visual inspection starts the process. Inspectors look for surface issues like blistering, cracking, exposed seams, and punctures caused by foot traffic or tools left behind by HVAC crews (yes, this is a frequent culprit).
2. Checks for Ponding Water
Flat roofs are susceptible to water pooling. During commercial roof inspections, areas where water consistently sits are noted, as these accelerate membrane breakdown and can lead to leaks or structural damage.
3. Drainage & Penetrations
Drains, scuppers, and roof penetrations like vent pipes or equipment curbs are closely evaluated. These are common failure points where water can seep in if not properly sealed.
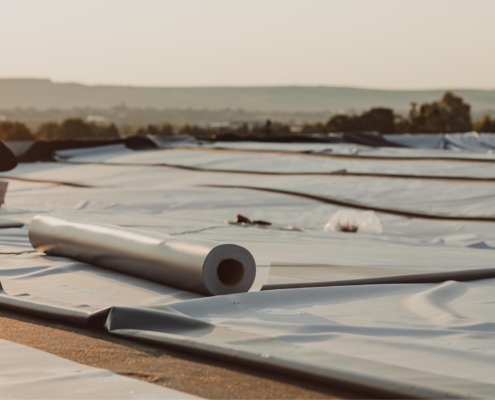
4. Core Sampling
Here’s a key differentiator: a core sample is often taken on commercial roofs. This tells the inspector how many layers are in place (you can typically only roof over once), what materials exist underneath, and what type and size of fasteners would be required for future work. It also identifies whether the substrate is concrete, tectum, or lightweight gypsum, all of which affect performance.
5. Perimeter and Flashing Review
The edges of commercial roofs and flashing around penetrations are examined for signs of lifting, degradation, or poor installation; all common contributors to water intrusion.